

5 Essential Pro Tips for Installing a MowRo Robot Lawn Mower
If you’re tired of spending hours every weekend pushing a mower, a MowRo robotic lawn mower is a game-changer. Designed to deliver a consistently neat and manicured lawn, the MowRo allows you to sit back, relax, and let technology do the hard work. However, correct installation is crucial to ensure your MowRo operates efficiently and covers every inch of your lawn without hiccups.
To help you get the most out of your robot lawn mower, we’ve compiled five essential pro tips for installing a MowRo , including some lesser-known tricks for troubleshooting installation challenges. Follow these steps, and you’ll be on your way to effortless lawn care!
1. Choose the Ideal Spot for the Charging Dock
The charging dock is where your MowRo starts and ends its mowing cycles, so selecting the perfect location is an essential first step. Poorly positioning the dock can result in docking issues or inefficiencies in mowing patterns.
- Flat and Accessible : Select a level, stable surface for the charging dock. Avoid slopes or uneven terrain, as the mower may struggle to dock or disconnect properly.
- Weather Protection : Place the dock in a shady area whenever possible. Prolonged exposure to extreme sunlight may overheat the mower or drain the battery, while heavy rain might affect docking performance.
- Proximity to Power : Keep the dock close to an electrical outlet, ensuring the cord will not interfere with the mower's movements.
- Unobstructed Path : Clear at least 3–6 feet in front of the dock , so MowRo can dock seamlessly and start its mowing cycle without hitting anything. Clear surrounding objects and low-growth plants as well.
Pro Tip : If you live in a storm-prone area, you can order a small weather shed or "garage" for your charging dock to shield it from severe weather.
2. Install the Boundary Wire with Precision
The boundary wire is the MowRo’s guide—it creates an invisible fence that defines the areas your mower should cut, as well as the spots to avoid. Proper placement is key for smooth operation.
- Never Use 90-Degree Corners : Boundary wires should never have sharp 90-degree corners , as this can confuse the MowRo or cause it to miss certain areas. Instead, curve the corners gently into soft, rounded angles for better navigation and accuracy.
- Create a Flush Setup : To ensure the boundary wire lays flat against the ground, use pegs to secure it tightly. A loose wire can be bumped or moved by the mower, disrupting its mowing cycle.
- Use a Screwdriver Trick : For a professional-looking installation, use the tip of a screwdriver to create a narrow groove in the grass , then lay the boundary wire inside it. This not only keeps the wire flush with the ground but also helps prevent it from being accidentally snagged or cut during operation.
- Correct Placement : Follow MowRo guidelines to install the wire about 9.5 inches away from walls and fences, or 3 inches from flat edges like sidewalks or patios to ensure proper mowing coverage.
- Secure Borders Around Obstacles : Use the wire to create islands around areas like flower beds, garden furniture, or trees to prevent the MowRo from attempting to mow areas it shouldn’t. If you lay the wire on top of each other as you run it to & from obstacles, it will cancel the signal out to your MowRo and allow the grass to get cut except for the obstacle which you outline.
Pro Tip : Make sure the wire cover on the back is securely in place after attaching the wire to the docks. Keeping that area dry is critical!
3. Prepare Your Lawn for a Smooth Start
Before letting the MowRo loose on your lawn, you’ll want to do a quick clean-up to ensure smooth, uninterrupted mowing. A little preparation upfront goes a long way toward preventing operational interruptions.
- Remove Obstacles : Take some time to clear away rocks, branches, toys, hoses, and other objects that might obstruct the mower. Even small debris can interfere with the performance or damage the blades.
- Fill in Holes : Patch and fill any uneven terrain, holes, or divots where the MowRo may get stuck or lose traction.
- Tidy the Lawn Edges : Trim any twigs, overhanging plants, or grass along fences or walls that the MowRo might not be able to cut efficiently.
- Check No-Mow Zones : Double-check that your boundary wire properly sections off fragile areas like flower beds, pools, or vegetable gardens.
Pro Tip : If you haven’t mowed your lawn recently and the grass is long, manually mow it to an even height before allowing the MowRo to begin its first mowing cycle. This will help MowRo process the lawn more efficiently during its initial runs.
4. Optimize the Mowing Schedule
One of the greatest advantages of the MowRo is its ability to work on a regular mowing schedule, keeping your lawn perfectly trimmed without overgrowth. Setting the right schedule ensures clean, consistent cutting while also preserving battery life.
- Default Schedule : MowRo is typically set to mow every 48 hours , a frequency that works well for many lawns. Start with this setting and adjust as needed.
- Adapt to Grass Growth : Shorten the mowing intervals during fast-growing seasons, or reduce them to conserve battery life during periods of slow growth.
- Avoid Wet Conditions : While MowRo can technically operate in light rain, it’s better to avoid mowing wet lawns. Wet grass can clog the mower blades or result in unevenly cut grass.
- Time It Right : Schedule the mowing when your lawn is free of foot traffic—early morning or late afternoon often works well.
Pro Tip : Worried about noise? Don’t be! The MowRo operates quietly. However, running it midday when fewer people are in the yard ensures there’s less chance of interruption.
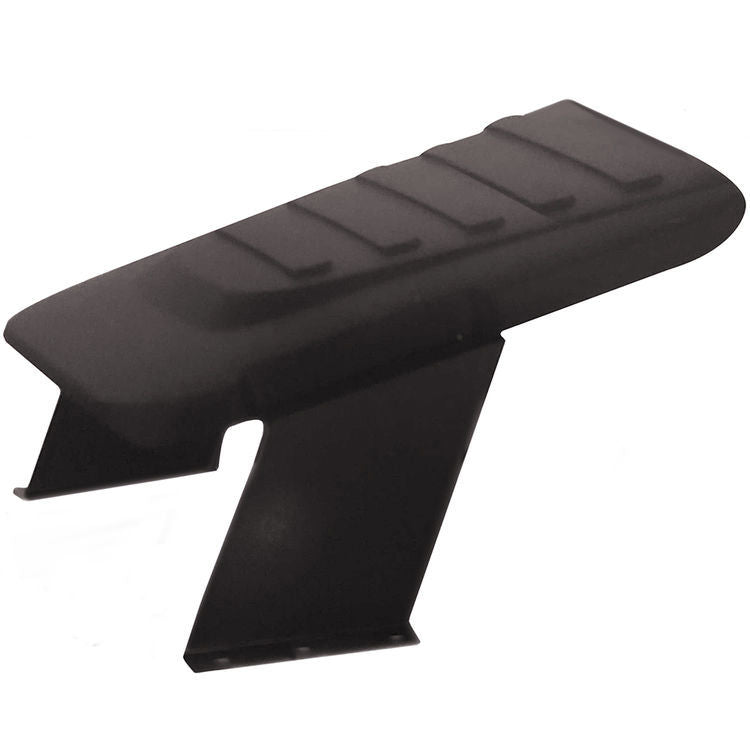
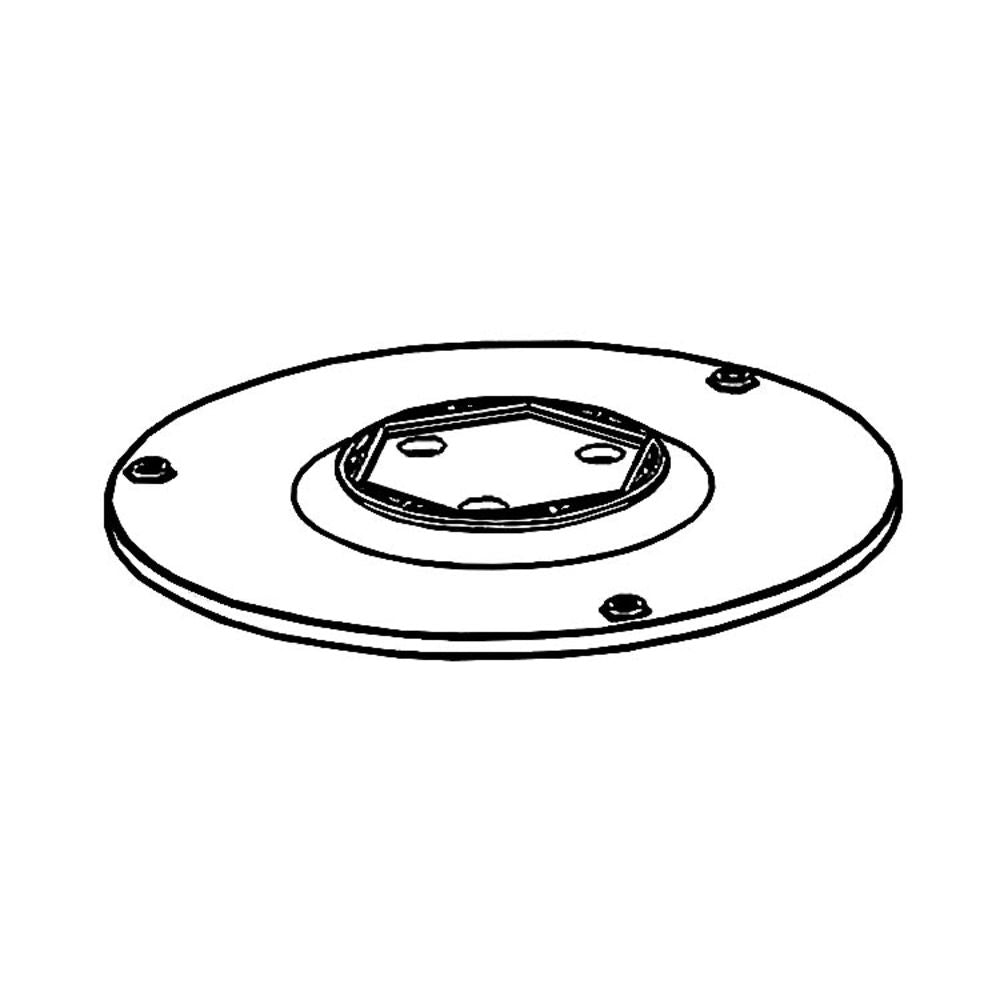
5. Keep Your MowRo Maintained
Your MowRo is a low-maintenance device, but regular upkeep will ensure a longer lifespan and peak performance.
- Clean Regularly : After every few uses, check the underside of the mower for grass buildup and debris. Wipe the unit down and clean the wheels and blade area thoroughly.
- Inspect and Replace Blades : Dull or damaged blades can leave your lawn looking uneven and unhealthy. Plan to replace blades after 1–2 months of regular use, or sooner if you notice dull performance.
- Monitor the Boundary Wire : Check the boundary wire occasionally to ensure it hasn’t been dislodged by foot traffic, pets, or gardening equipment. Reseat the pegs or tighten any loose areas.
- Store Safely in the Off-Season : If you won’t be using your MowRo during colder months, store it indoors and disconnect the charging dock to protect it from weather damage.
Pro Tip : Keep a small toolkit readily available for quick adjustments, blade changes, or tackling minor installation issues.
Conclusion
Properly installing your MowRo robotic lawn mower is the key to maximizing its efficiency and achieving an effortless, picture-perfect lawn. By following these pro tips —from selecting the optimal charging dock location to mastering boundary wire placement and maintaining your mower—you can avoid common setbacks and enjoy a smooth start to automated lawn care.
Have any other insider tips for MowRo setup or care? Share them in the comments!